Security with Reverse Proxy Service
- Connection to Notebook over HTTPS using the Reverse Proxy Service (very secure)
Overview
 arch
arch
The SDSC Reverse Proxy Service is a prototype system that will allow users to launch standard Jupyter Services on on any Comet compute node using a reverse proxy server using a simple bash script called start-jupyter. The notebooks will be hosted on the internal cluster network as an HTTP service using standard jupyter commands. The service will then be made available to the user outside of the cluster firewall as an HTTPS connection between the external users web browser and the reverse proxy server. The goal is to minimize software changes for our users while improving the security of user notebooks running on our HPC systems. The RPS service is capable of running on any HPC system capable of supporting the RP server (needs Apache).
Using the RPS is very simple and requires no tunneling and is secure (produces HTTPS URLs). To use RPS, SSH to connect to comet, and make sure that you have the software environment installed on the login node. Verify that you have installed the required software: Anaconda, conda, Jupyter (notebooks, lab), and other Python packages needed for you application.
Clone the RPS repository
Clone this repository directly into your comet login node.git clone https://github.com/sdsc-hpc-training-org/reverse-proxy.git
Launching the Notebook
The start-jupyter script performs the following tasks:
- Sends a request to the reverse proxy server (RPS) to get a one-time token and a port number
- Launches the jupyter notebook command using the token and port number.
- Prints a secure URL containing the token to the terminal, so that the user can copy/paste the URL into a local browser:
Your notebook is here:
    https://aversion-runaround-spearman.comet-user-content.sdsc.edu?token=099aa825b1403d58889842ab2c758885
Usage
./start-jupyter [-p <string>] [-d <string>] [-A <string>] [-b <string>] [-t time] [-i]
-p: the partition to wait for. debug or compute
    Default Partition is "compute"

-d: the top-level directory of your jupyter notebook
    Default Dir is /home/$USER

-A: the project allocation to be used for this notebook
    Default Allocation is your sbatch system default allocation (also called project or group)

-b: the batch script you want to submit with your notebook. Only those in the `batch` folder are supported.
    Default batch script is ./batch/batch_notebook.sh

-t: the time to run the notebook. Your account will be charged for the time you put here so be careful.
    Default time is 30 minutes

-i: Get extra information about the job you submitted using the script
(If you don’t know what $USER is, try this command: echo $USER. This is just your comet username)
Note that the time positional argument must occur after all the flags. There will be an error if you put any flags after the positional argument.
NOTE: Using the script on multiple systems
There are minor differences when using the script on Comet vs. Stratus vs. TSCC. TSCC uses a queue system called Torque, whereas Comet and Stratus use Slurm. You will see example notebook and jupyterlab scripts for Torque and Slurm in the RPS repository. The most important thing to notice is that when you run start-jupyter it will automatially run with defaults for the cluster you are using. So you don’t need to worry as much about which cluster you’re on.
Example Commands
Start a notebook with all defaults on any system
./start-jupyter
Start a jupyterlab session with rest defaults on Comet
./start-jupyter -b slurm/jupyterlab.sh
Start a jupyterlab session with rest defaults on TSCC
./start-jupyter -b torque/jupyterlab.sh
Start a notebook in the debug queue on Comet only
./start-jupyter -d ~ -p debug -t 30
Start a notebook in the compute queue on Comet only
./start-jupyter -d ~ -A ddp363 -p compute -t 60
Example Output
This is your waiting screen. This screen occurs before your batch job is submitted.
 Waiting Screen
Your notebook is ready to go!
 Notebook Ready
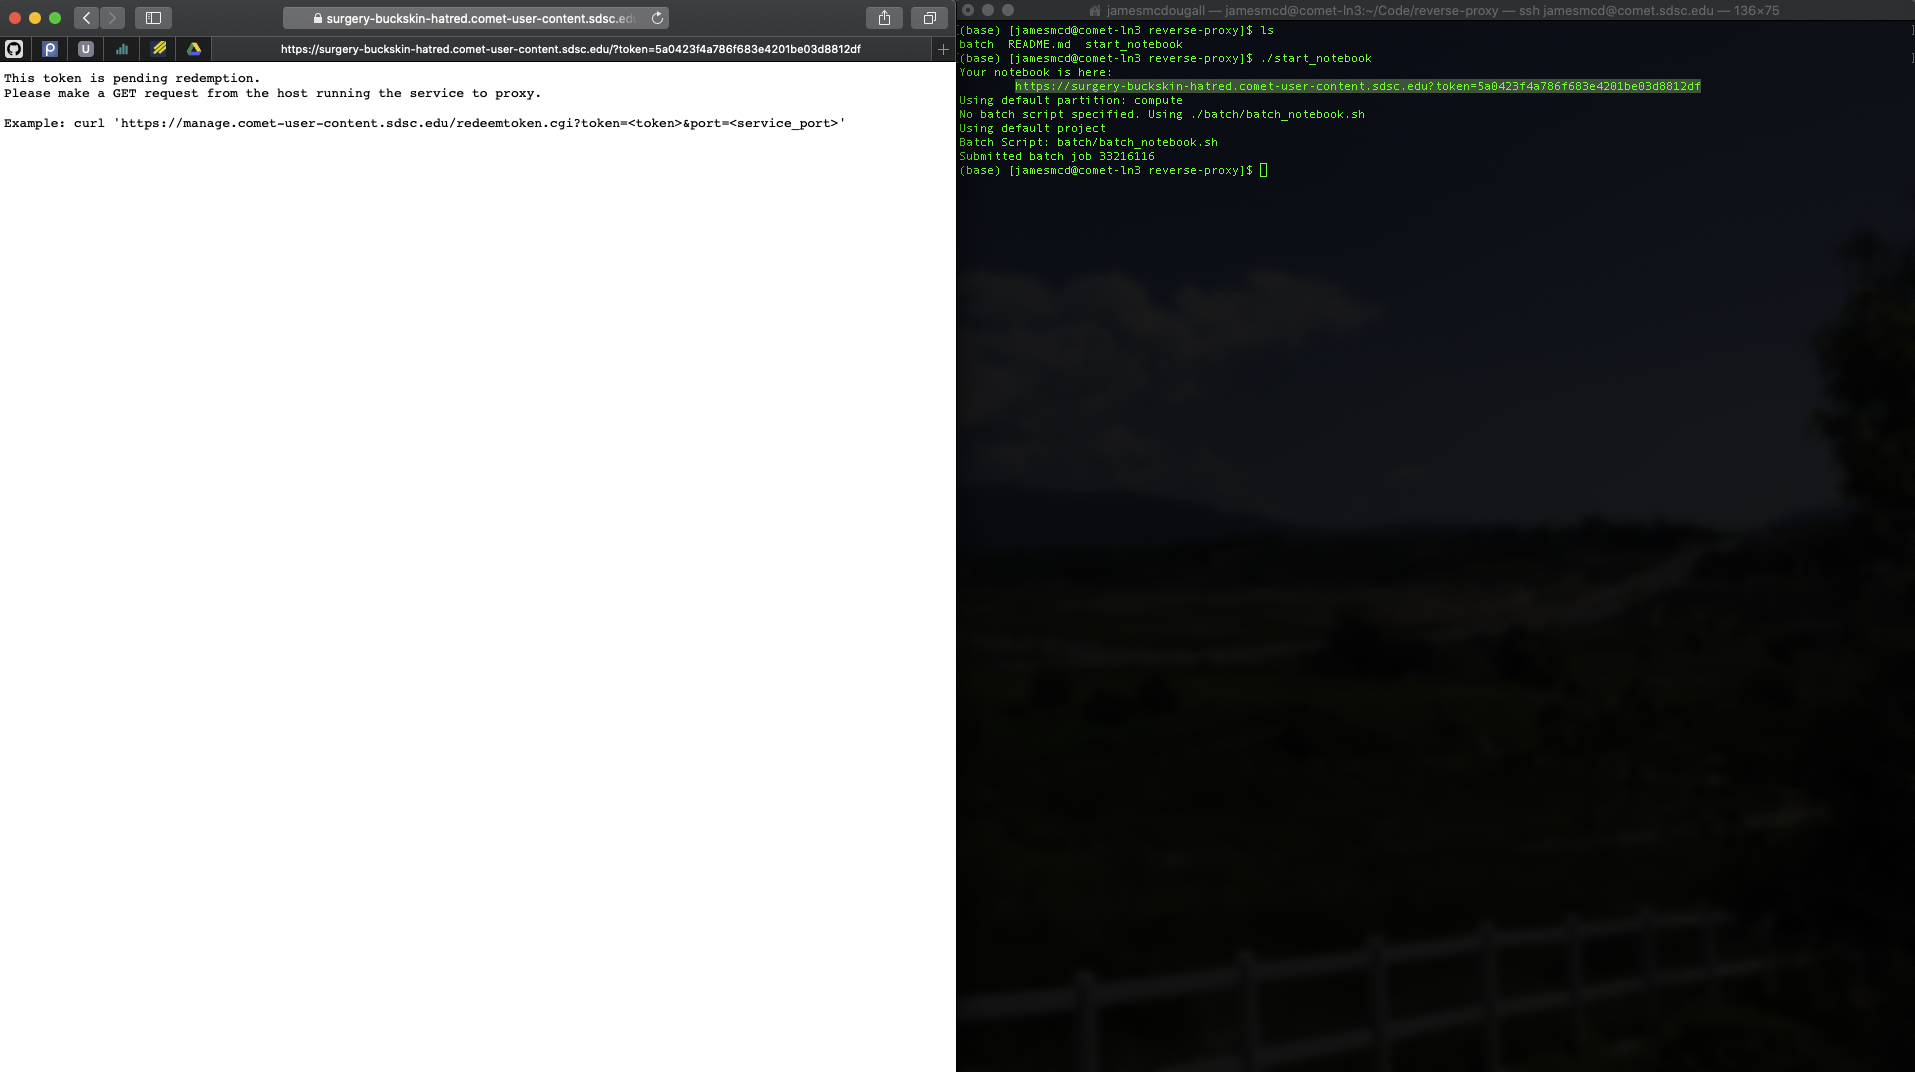
If you refresh too soon, you may see this page. This is expected and you’ll just have to wait.
 Token Mapping